

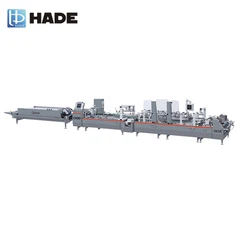

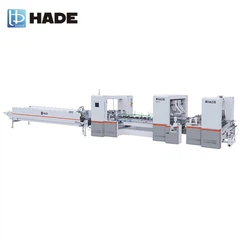
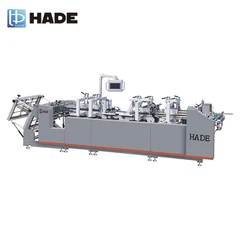
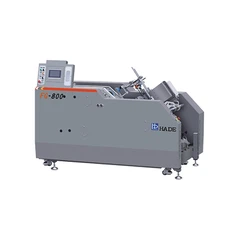
Hey there! As a supplier of folder gluers, I often get asked about how to install these machines. It might seem like a daunting task, but with the right steps and a bit of know - how, you can have your folder gluer up and running in no time. In this blog, I'll walk you through the process of installing a folder gluer.
Pre - installation Preparations
Before you even start thinking about installing the folder gluer, there are a few things you need to take care of. First off, you need to pick the right location for your machine. The area should be flat and stable. A wobbly surface can cause all sorts of problems during operation, so make sure to check the floor for any unevenness. You can use a spirit level to confirm that the floor is level.


Secondly, ensure that there's enough space around the machine. You'll need room to access different parts of the folder gluer for maintenance, cleaning, and to load and unload materials. A good rule of thumb is to leave at least a couple of feet of clearance on all sides.
You also need to check the power supply. Different folder gluers have different power requirements, so it's crucial to match the machine's power needs with your electrical setup. Make sure your electrical system can handle the voltage and amperage specified by the manufacturer. If you're not sure, it's always a good idea to consult an electrician.
Unpacking the Folder Gluer
Once you've got the location sorted and the power supply in check, it's time to unpack the folder gluer. Be extra careful when unpacking. These machines are usually heavy and delicate in some parts. Use proper lifting equipment like a forklift or a hoist if needed.
Inspect all the parts for any damage during transit. Look for dents, scratches, or loose components. If you find any issues, contact the shipping company and us right away. We'll work with you to resolve the problem as quickly as possible.
Assembling the Machine
Now comes the fun part - assembling the folder gluer. Most folder gluers come with a detailed assembly manual. It's super important to read this manual thoroughly before you start putting the machine together.
Start by assembling the base of the machine. This is usually the largest and most stable part. Make sure all the bolts and nuts are tightened properly. Loose connections can lead to vibrations and other problems during operation.
Next, attach the various components like the feeding system, folding unit, and gluing system. These parts are often pre - assembled in sections, so it's just a matter of connecting them correctly. Pay close attention to the alignment of the parts. Misaligned components can cause jams and reduce the machine's efficiency.
Connecting the Power and Other Utilities
After the machine is assembled, it's time to connect the power. Follow the wiring diagram in the manual to ensure that all the electrical connections are made correctly. This is a critical step, and any mistakes can be dangerous.
You'll also need to connect other utilities like the glue supply. Make sure the glue tank is clean and free of any debris. Connect the glue hoses securely to the gluing system. Check for any leaks in the glue lines before starting the machine.
If your folder gluer has an air compressor for pneumatic components, connect it as well. Make sure the air pressure is set to the correct level as specified in the manual.
Testing the Machine
Once everything is connected, it's time to test the machine. Before you start full - scale production, do a dry run. Turn on the machine and let it run without any materials for a few minutes. Listen for any unusual noises or vibrations. If you hear anything strange, stop the machine immediately and check for the cause.
After the dry run, start feeding some test materials into the machine. Use scrap cardboard or paper to test the folding and gluing functions. Check the quality of the folds and the strength of the glue bonds. Make any necessary adjustments to the machine settings based on the test results.
Troubleshooting Common Installation Issues
Even with careful installation, you might run into some issues. One common problem is misfeeding. If the materials are not feeding properly, check the feeding rollers for any debris or damage. You might also need to adjust the feeding speed or the pressure of the rollers.
Another issue could be poor glue bonding. This could be due to incorrect glue application or the wrong type of glue. Check the glue viscosity and the settings of the gluing system. You might need to clean the glue nozzles or adjust the glue flow rate.
Conclusion
Installing a folder gluer might seem like a complex process, but if you follow the steps carefully and take your time, you'll have your machine up and running smoothly. At our company, we offer a wide range of folder gluers, including the Corrugated Box Folder Gluer Machine, the Full Automatic Mini - box Making Machine, and the High - speed Folder Gluer with 90 Degree Rotation.
If you're interested in purchasing a folder gluer or need more information about installation and operation, don't hesitate to get in touch. We're here to help you every step of the way, from choosing the right machine to ensuring its proper installation and maintenance.
References
- Manufacturer's manual of the folder gluer
- Industry best practices for machine installation